And When NOT to Drain your Water Heater
It seems like just yesterday you pulled your RV out of storage and prepped it for spring travel and summer road trips. Now it’s already time to winterize your RV and put it back in storage. And although the thought of going through the work right now might not sound appealing, come next spring you’ll be glad you did.
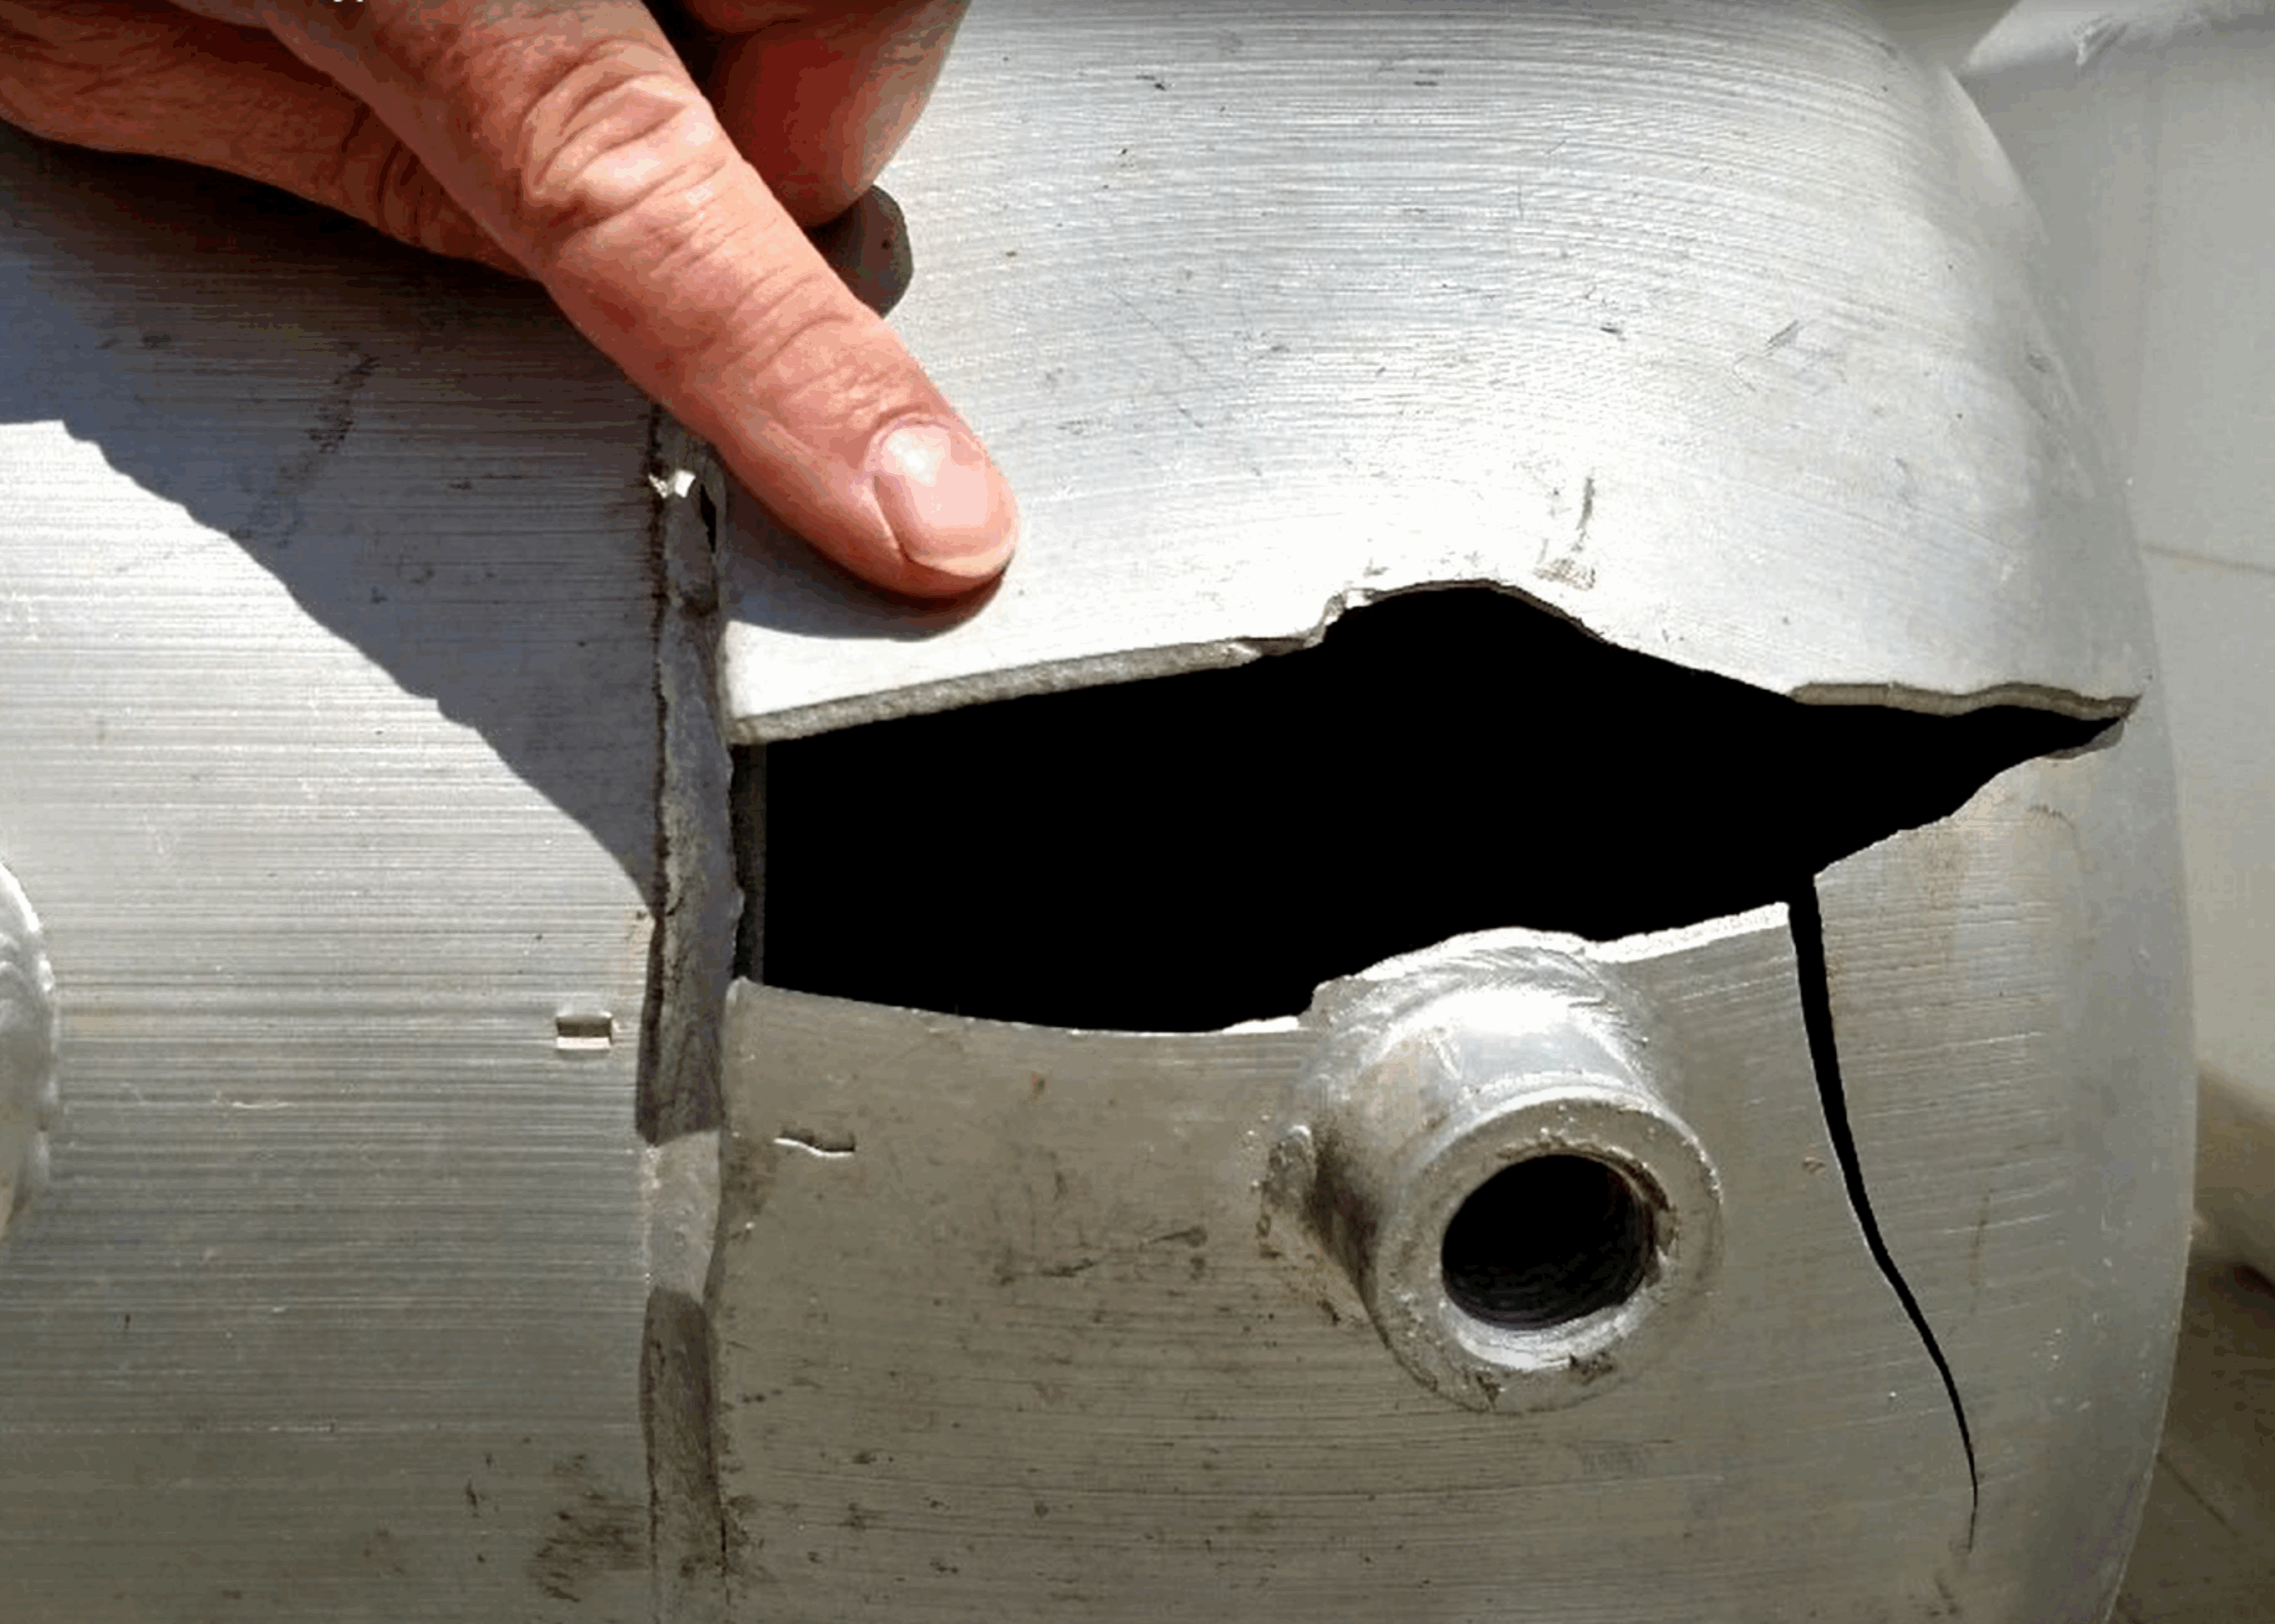
Winterizing RV water systems is one of the most important parts of prepping for off-season storage if you’ll be keeping your RV in a part of the country that experiences freezing temperatures. Knowing how to winterize RV water systems properly can save you from costly damage and headaches next season resulting from things like cracked fittings, frozen pipes, and burst water lines.
To winterize an RV water system, you need to remove water from water lines, holding tanks, the water heater, and other plumbing systems so that it can’t freeze, expand, and cause damage. Be sure to also include appliances like dishwashers or a refrigerator if it has a filter or ice maker when winterizing your RV. For a full list of water systems to check on your RV (and additional tips for winterization) read our last blog on How To Get Your RV Ready for Winter Camping or Storage.
When winterizing RV water systems always follow the manufacturer’s instructions for draining the system. Generally, there are two ways to drain water from your camper’s plumbing system – compressed air or RV antifreeze. Your rig’s instruction manual will let you know which method is safe for your ride. You’ll also want to consult the specific winterization guidelines from each appliance manufacture for instructions on winterizing their specific units.
Important things to remember when draining the system:
- Never drain a water heater when it is hot or under pressure. Always allow sufficient time for the water in the tank to cool before draining.
- Remove or bypass water filters. If you run antifreeze through those lines, it will ruin them.
- You’ll also need to bypass your RV water heater for the same reason.
- Be sure to drain your black and gray tanks.
If you haven’t drained your RV lines before, or need a refresher course from last year, there are lots of tutorials online that give very detailed instructions.
Both Suburban and Aqua-Hot have online information regarding proper winterization of their units including winterizing tips on their respective FAQ pages, videos detailing best practices on YouTube, and an online nationwide Service Center Locator to find authorized RV technicians near you to assist with maintenance work.
The only time you’re not going to drain your water heater and prep it for winter, is if it’s time for that water heater to be replaced. Annual fall maintenance is an excellent time to upgrade outdated components on your RV. If you’re looking to replace an old Atwood or Dometic 6-gallon water heater, the Suburban Advantage Direct Fit Water Heater is the only competitive replacement water heater still on the market that does not require any major modifications to your coach.
You also don’t need to winterize if you’re a full-time RVer or if you’ll be using your rig for winter camping. However, you will want to make sure your RV is ready for the rigors of freezing temperatures, lest you get stuck out in the cold. If you plan to travel this winter, take advantage of fall weather to do your annual maintenance, focusing on heating elements like furnaces or water heaters, which you’ll definitely want in good working order if you’re hitting the road in cold weather. Aqua-Hot’s Annual Service Kit is available for purchase directly from their website and the Service Center Locator will help you find qualified technicians to perform maintenance on your Suburban gas appliances.